
Knotted Threads Co., LLC
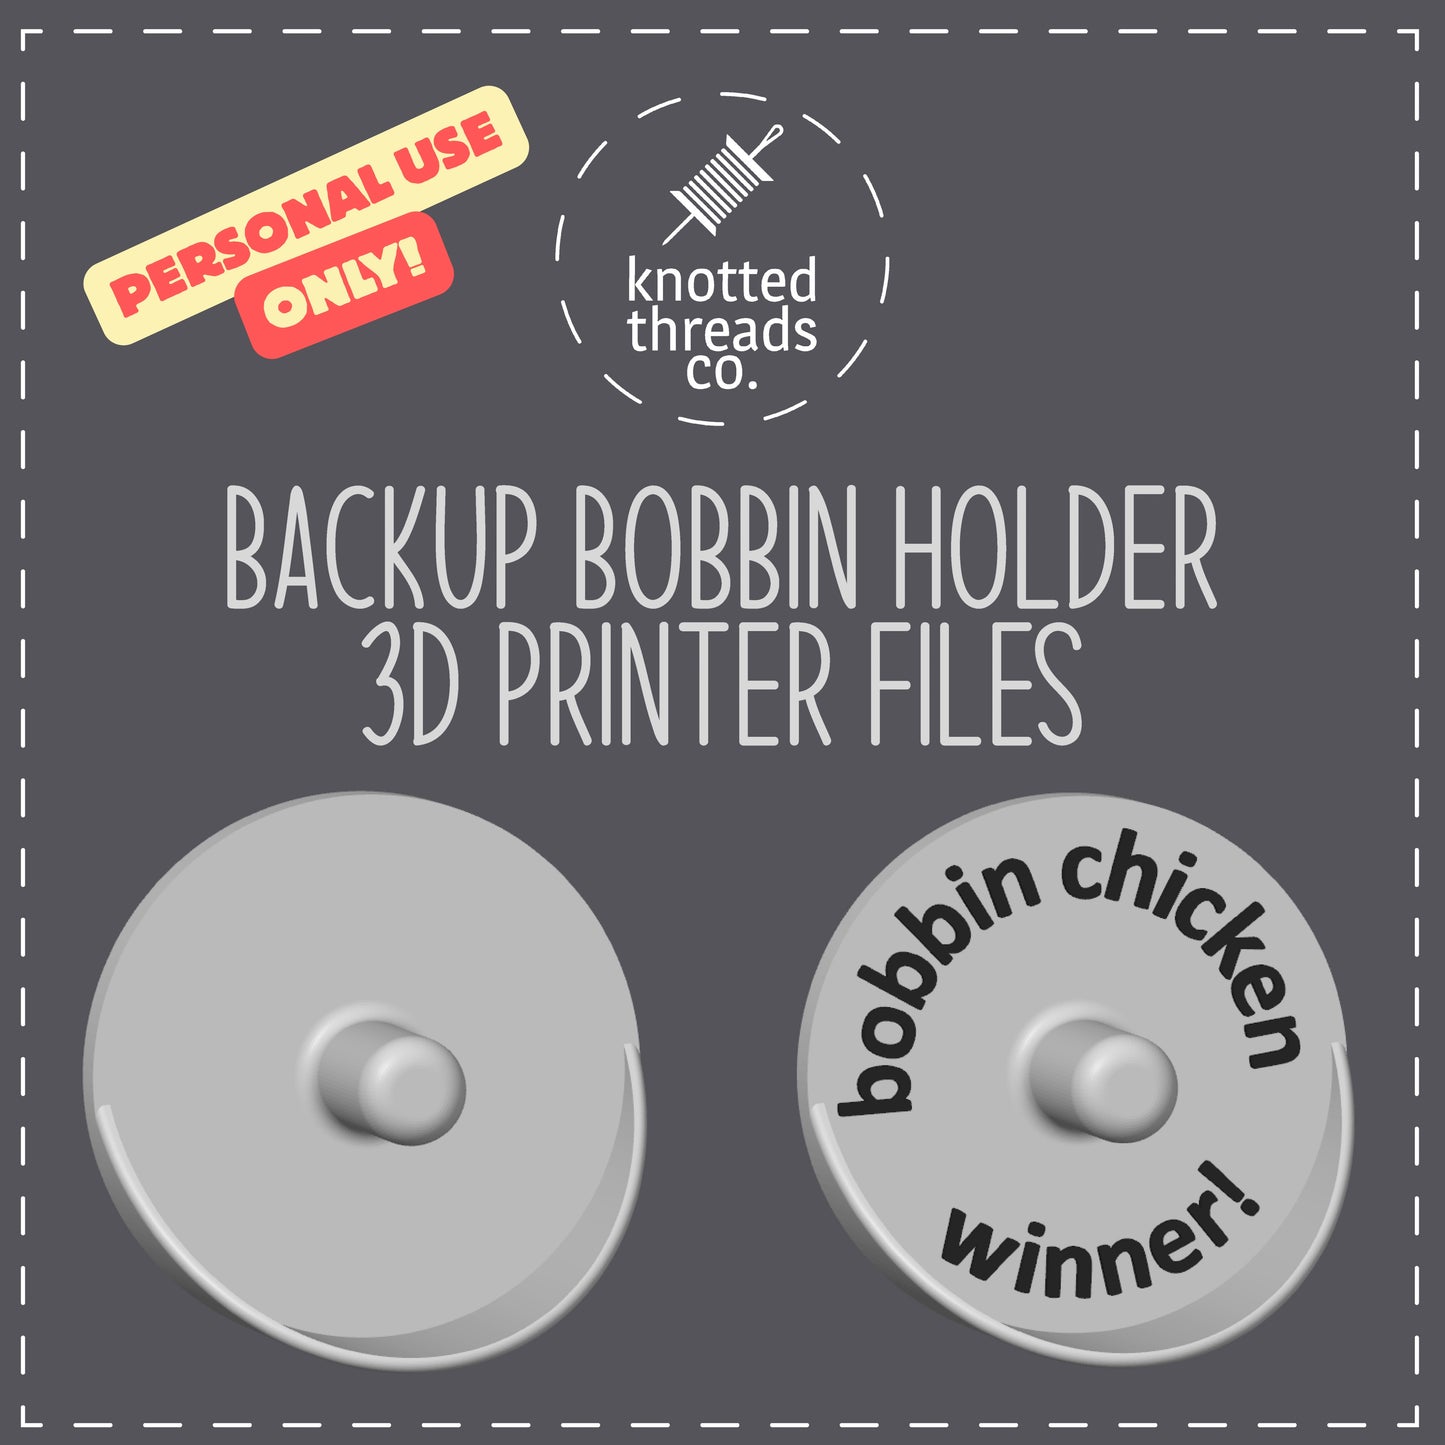
Backup Bobbin Holder STL File - Personal Use ONLY
Backup Bobbin Holder STL File - Personal Use ONLY
Couldn't load pickup availability
This is NOT a physical product. This is the STL file for you to print your own. You can find the physical items in the Merch & Notions section of this website.
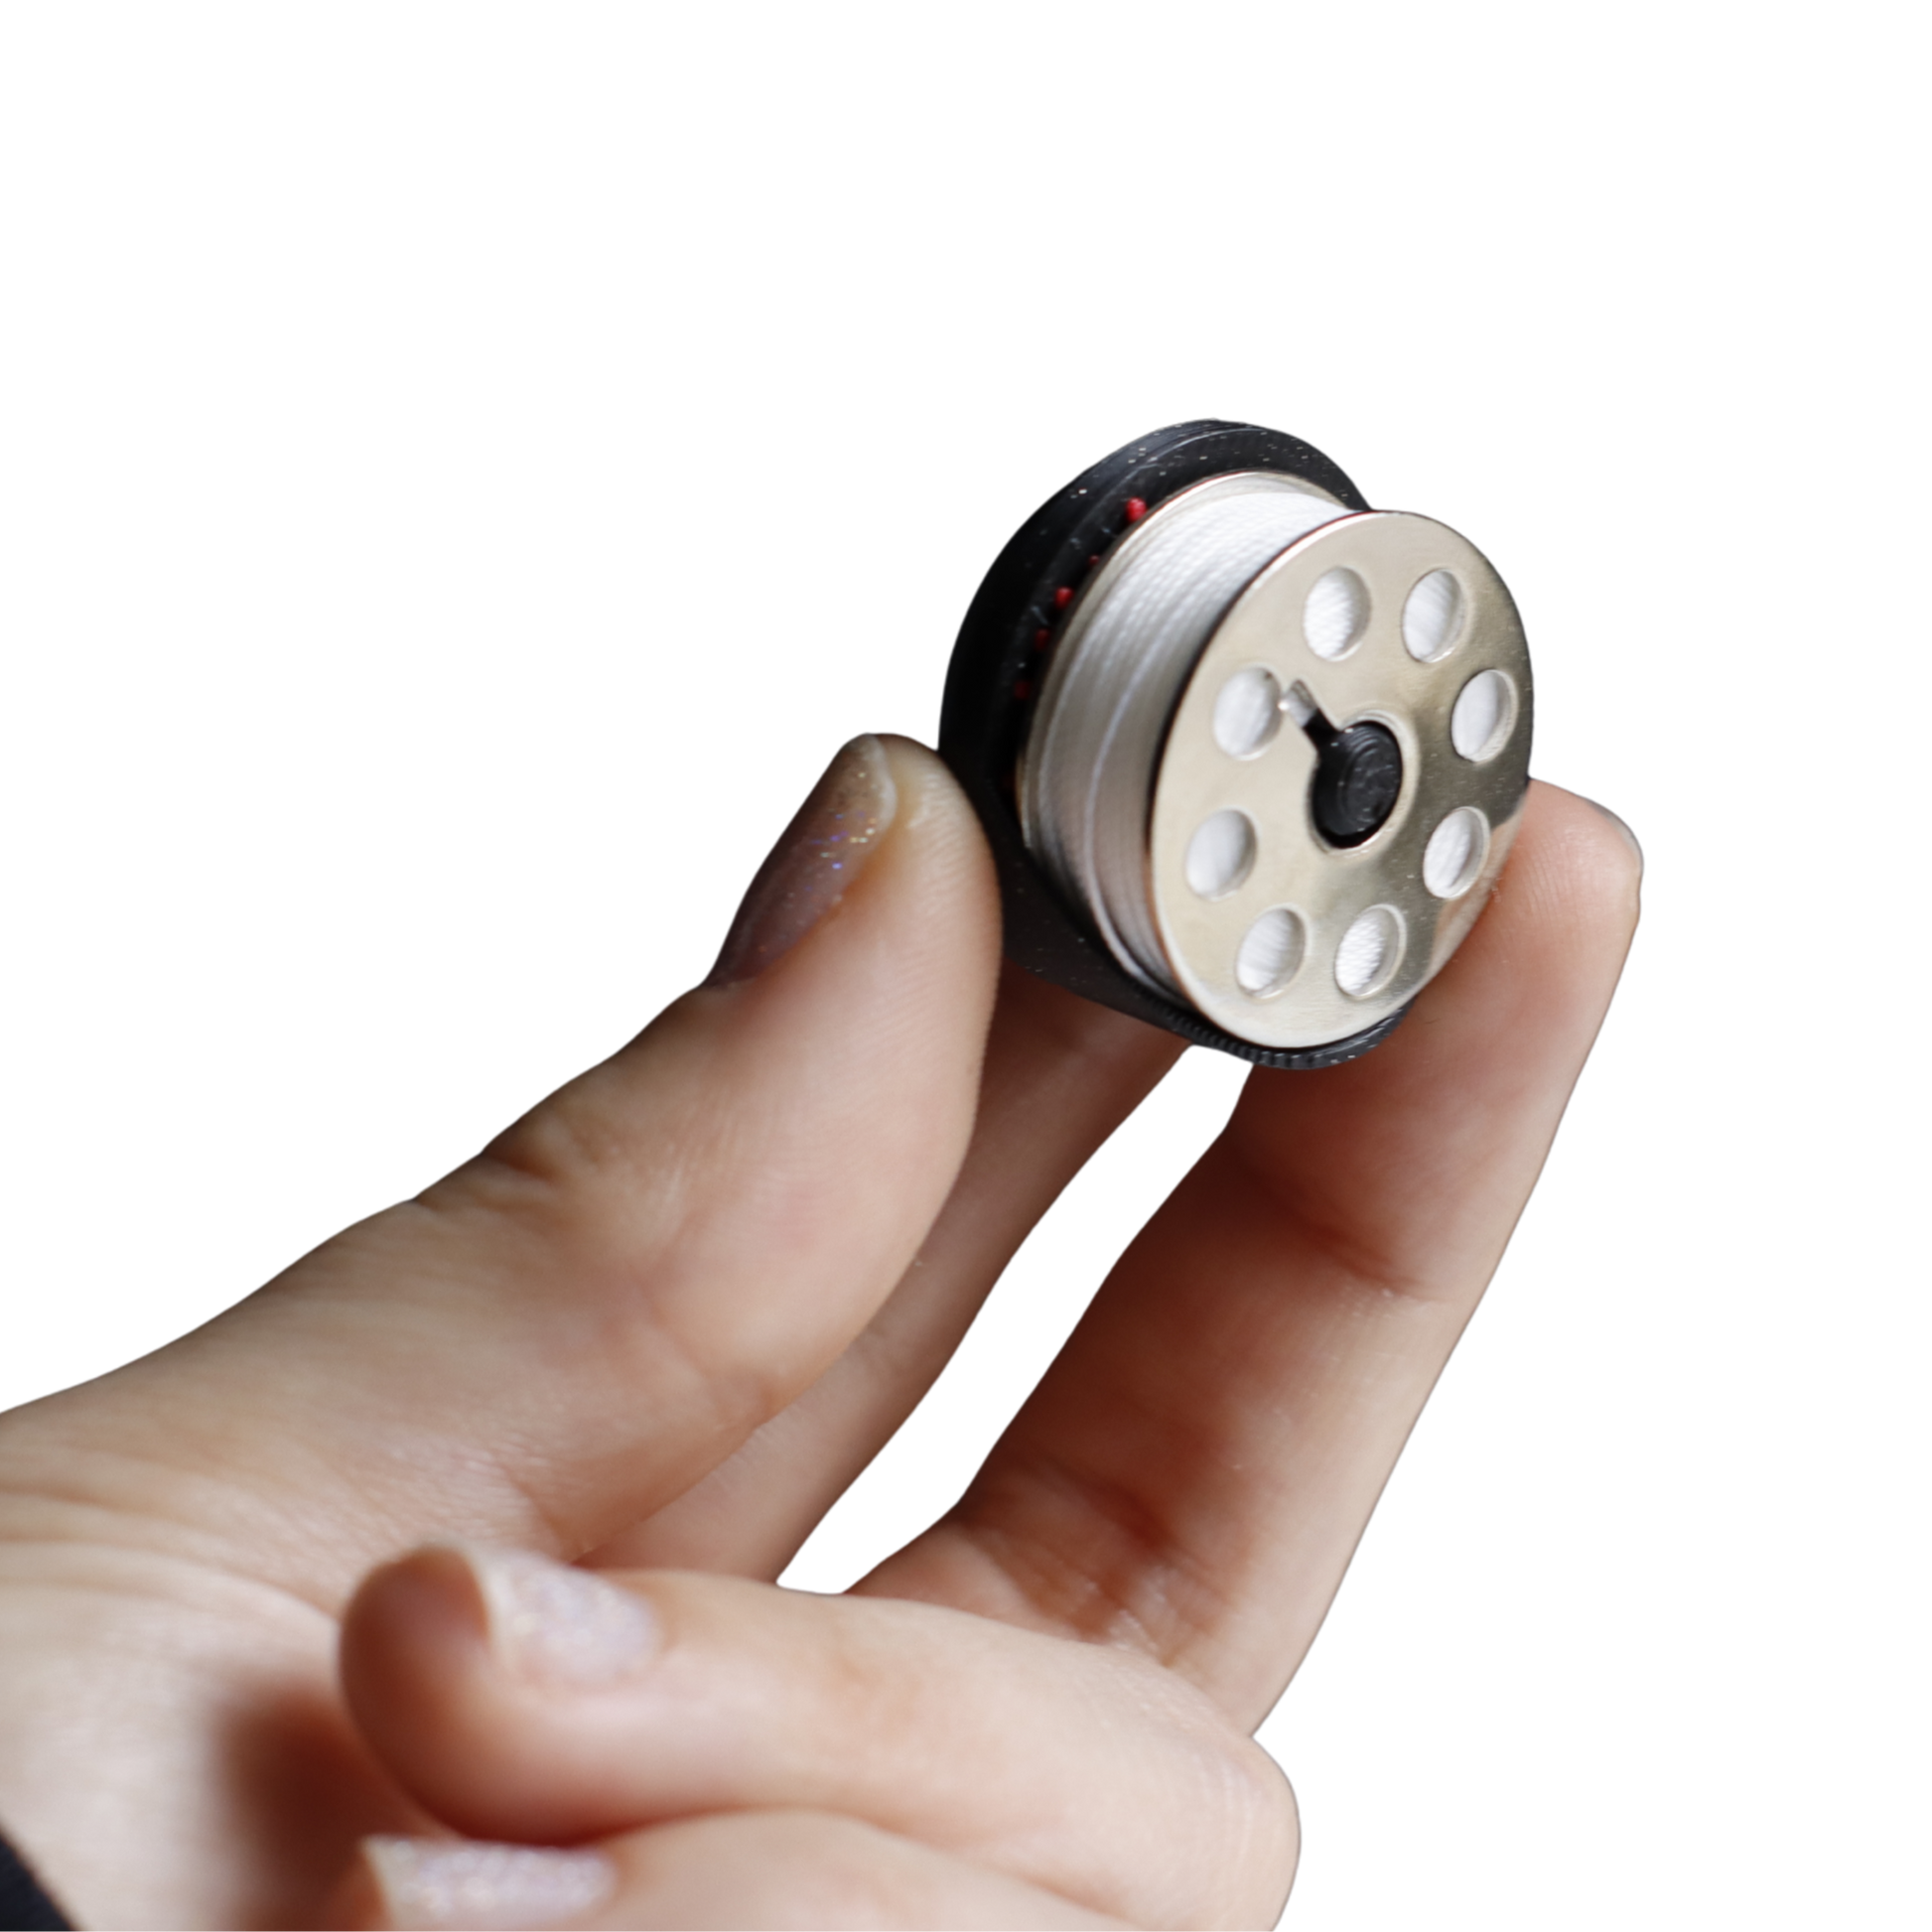
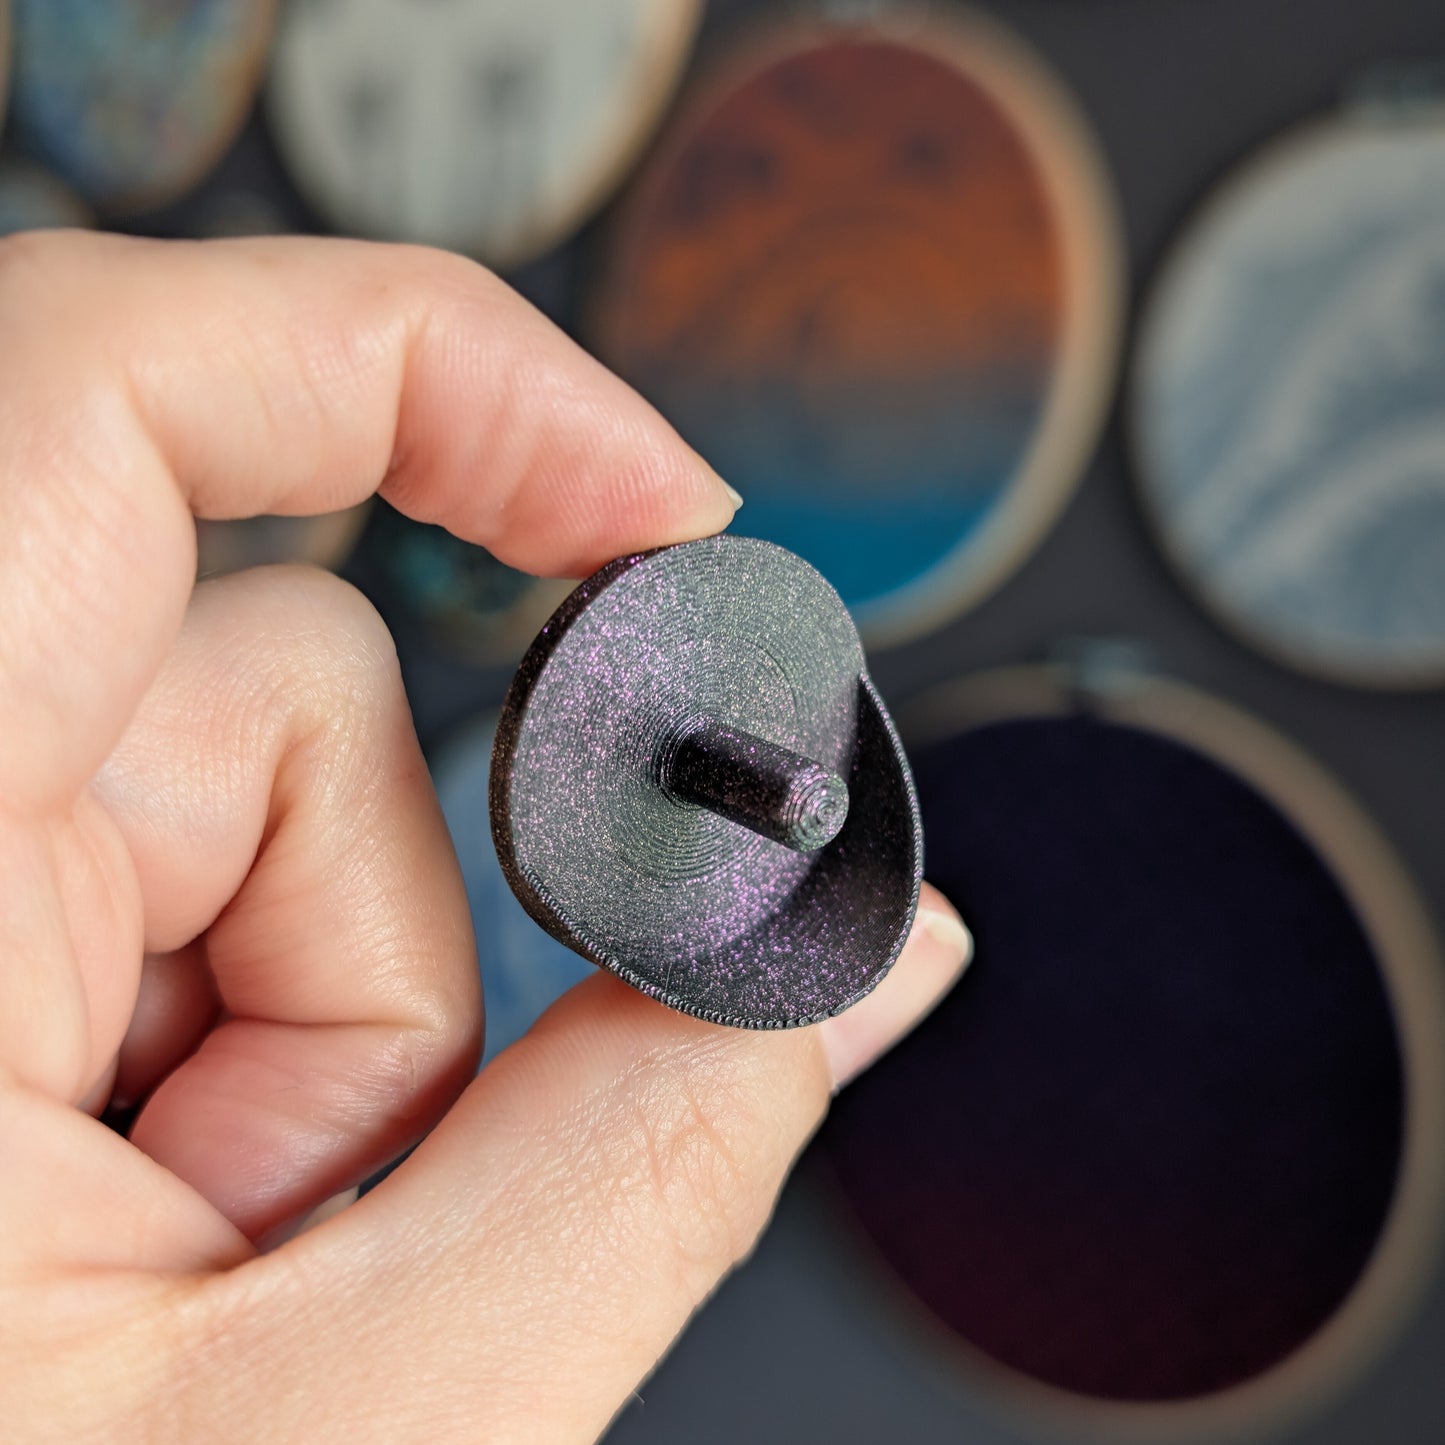
This is a magnetic spare bobbin holder. The magnet is hidden inside the holder, and the holder will work for all bobbin types, but it is specifically designed to best work with Class M (industrial) bobbins. It will not work with plastic bobbins, duh. It measures 1.1" x 1.1" x 0.68" (28.09 x 28.09 x 17.4 mm).
You can find this file free on MakerWorld, here: https://makerworld.com/en/models/1770480-magnetic-backup-bobbin-holder
This listing is essentially a show of support to keep us innovating! Making practical and functional things fun is our jam, so your support is appreciated!
Please read the below text for magnet installation instructions and other relevant info!
Digital Contents
Digital Contents
Includes (1) Zipped File Containing the Following:
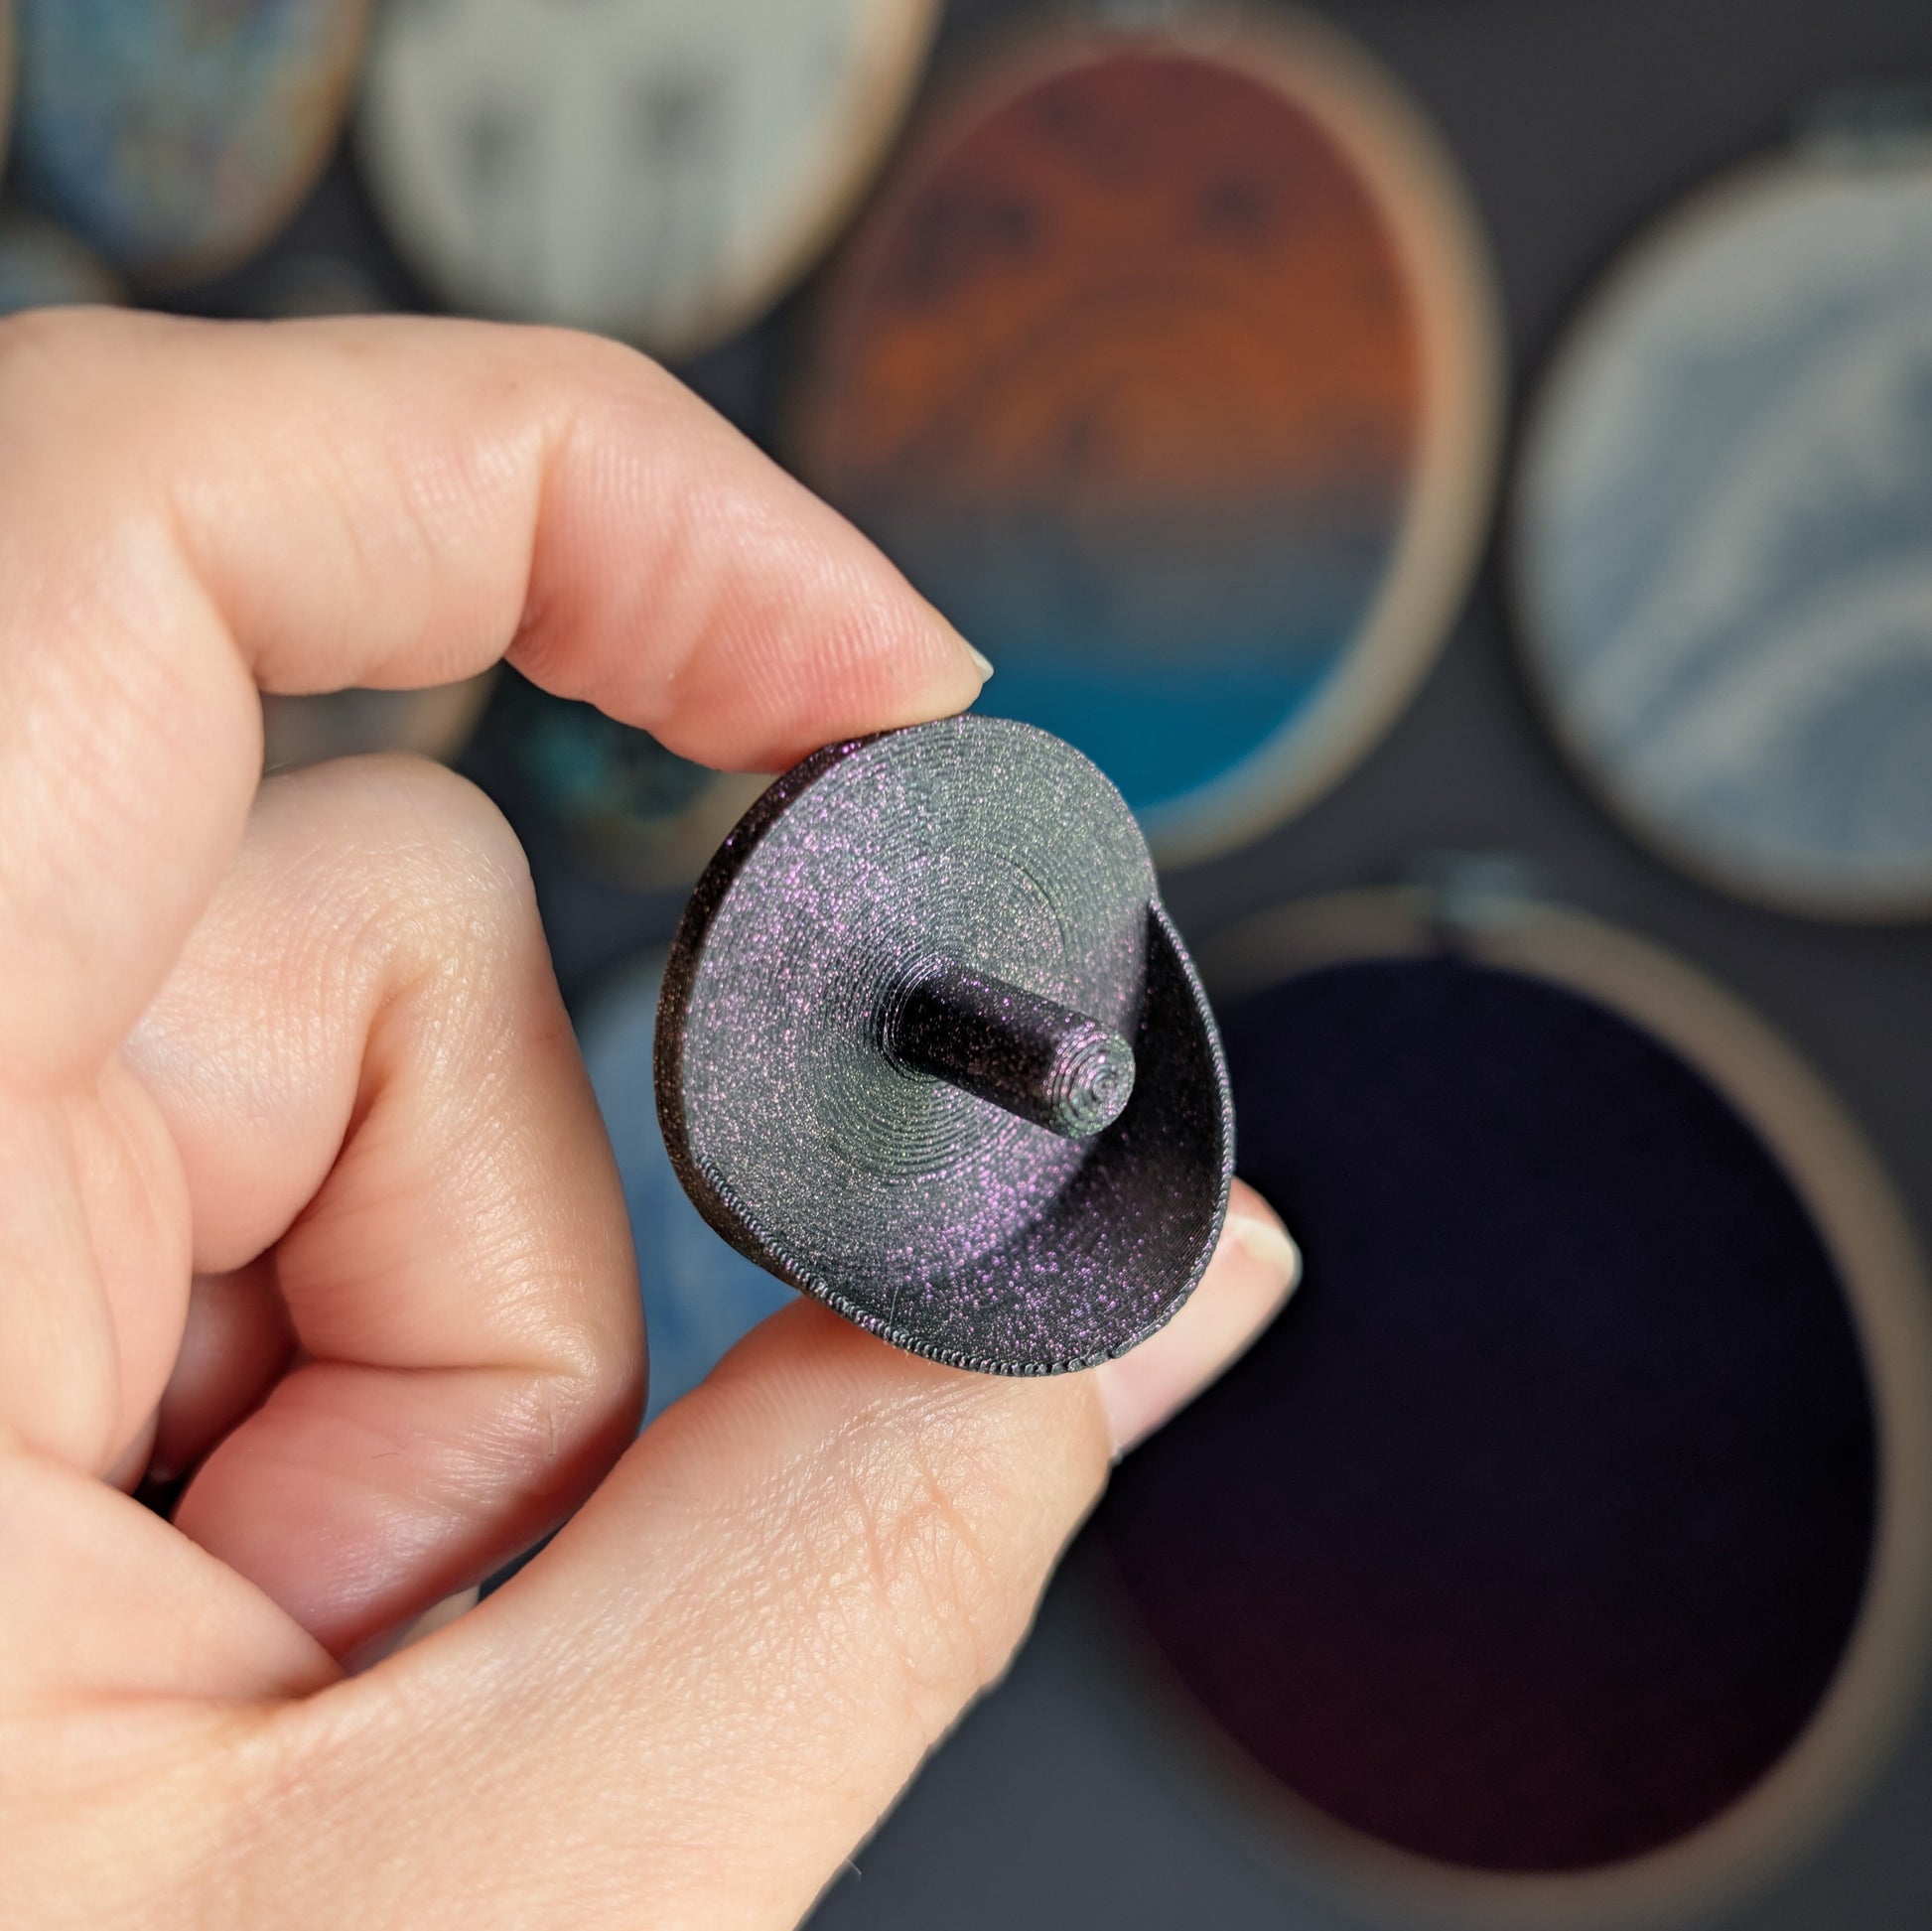
- (1) STL & 3MF of a blank bobbin holder
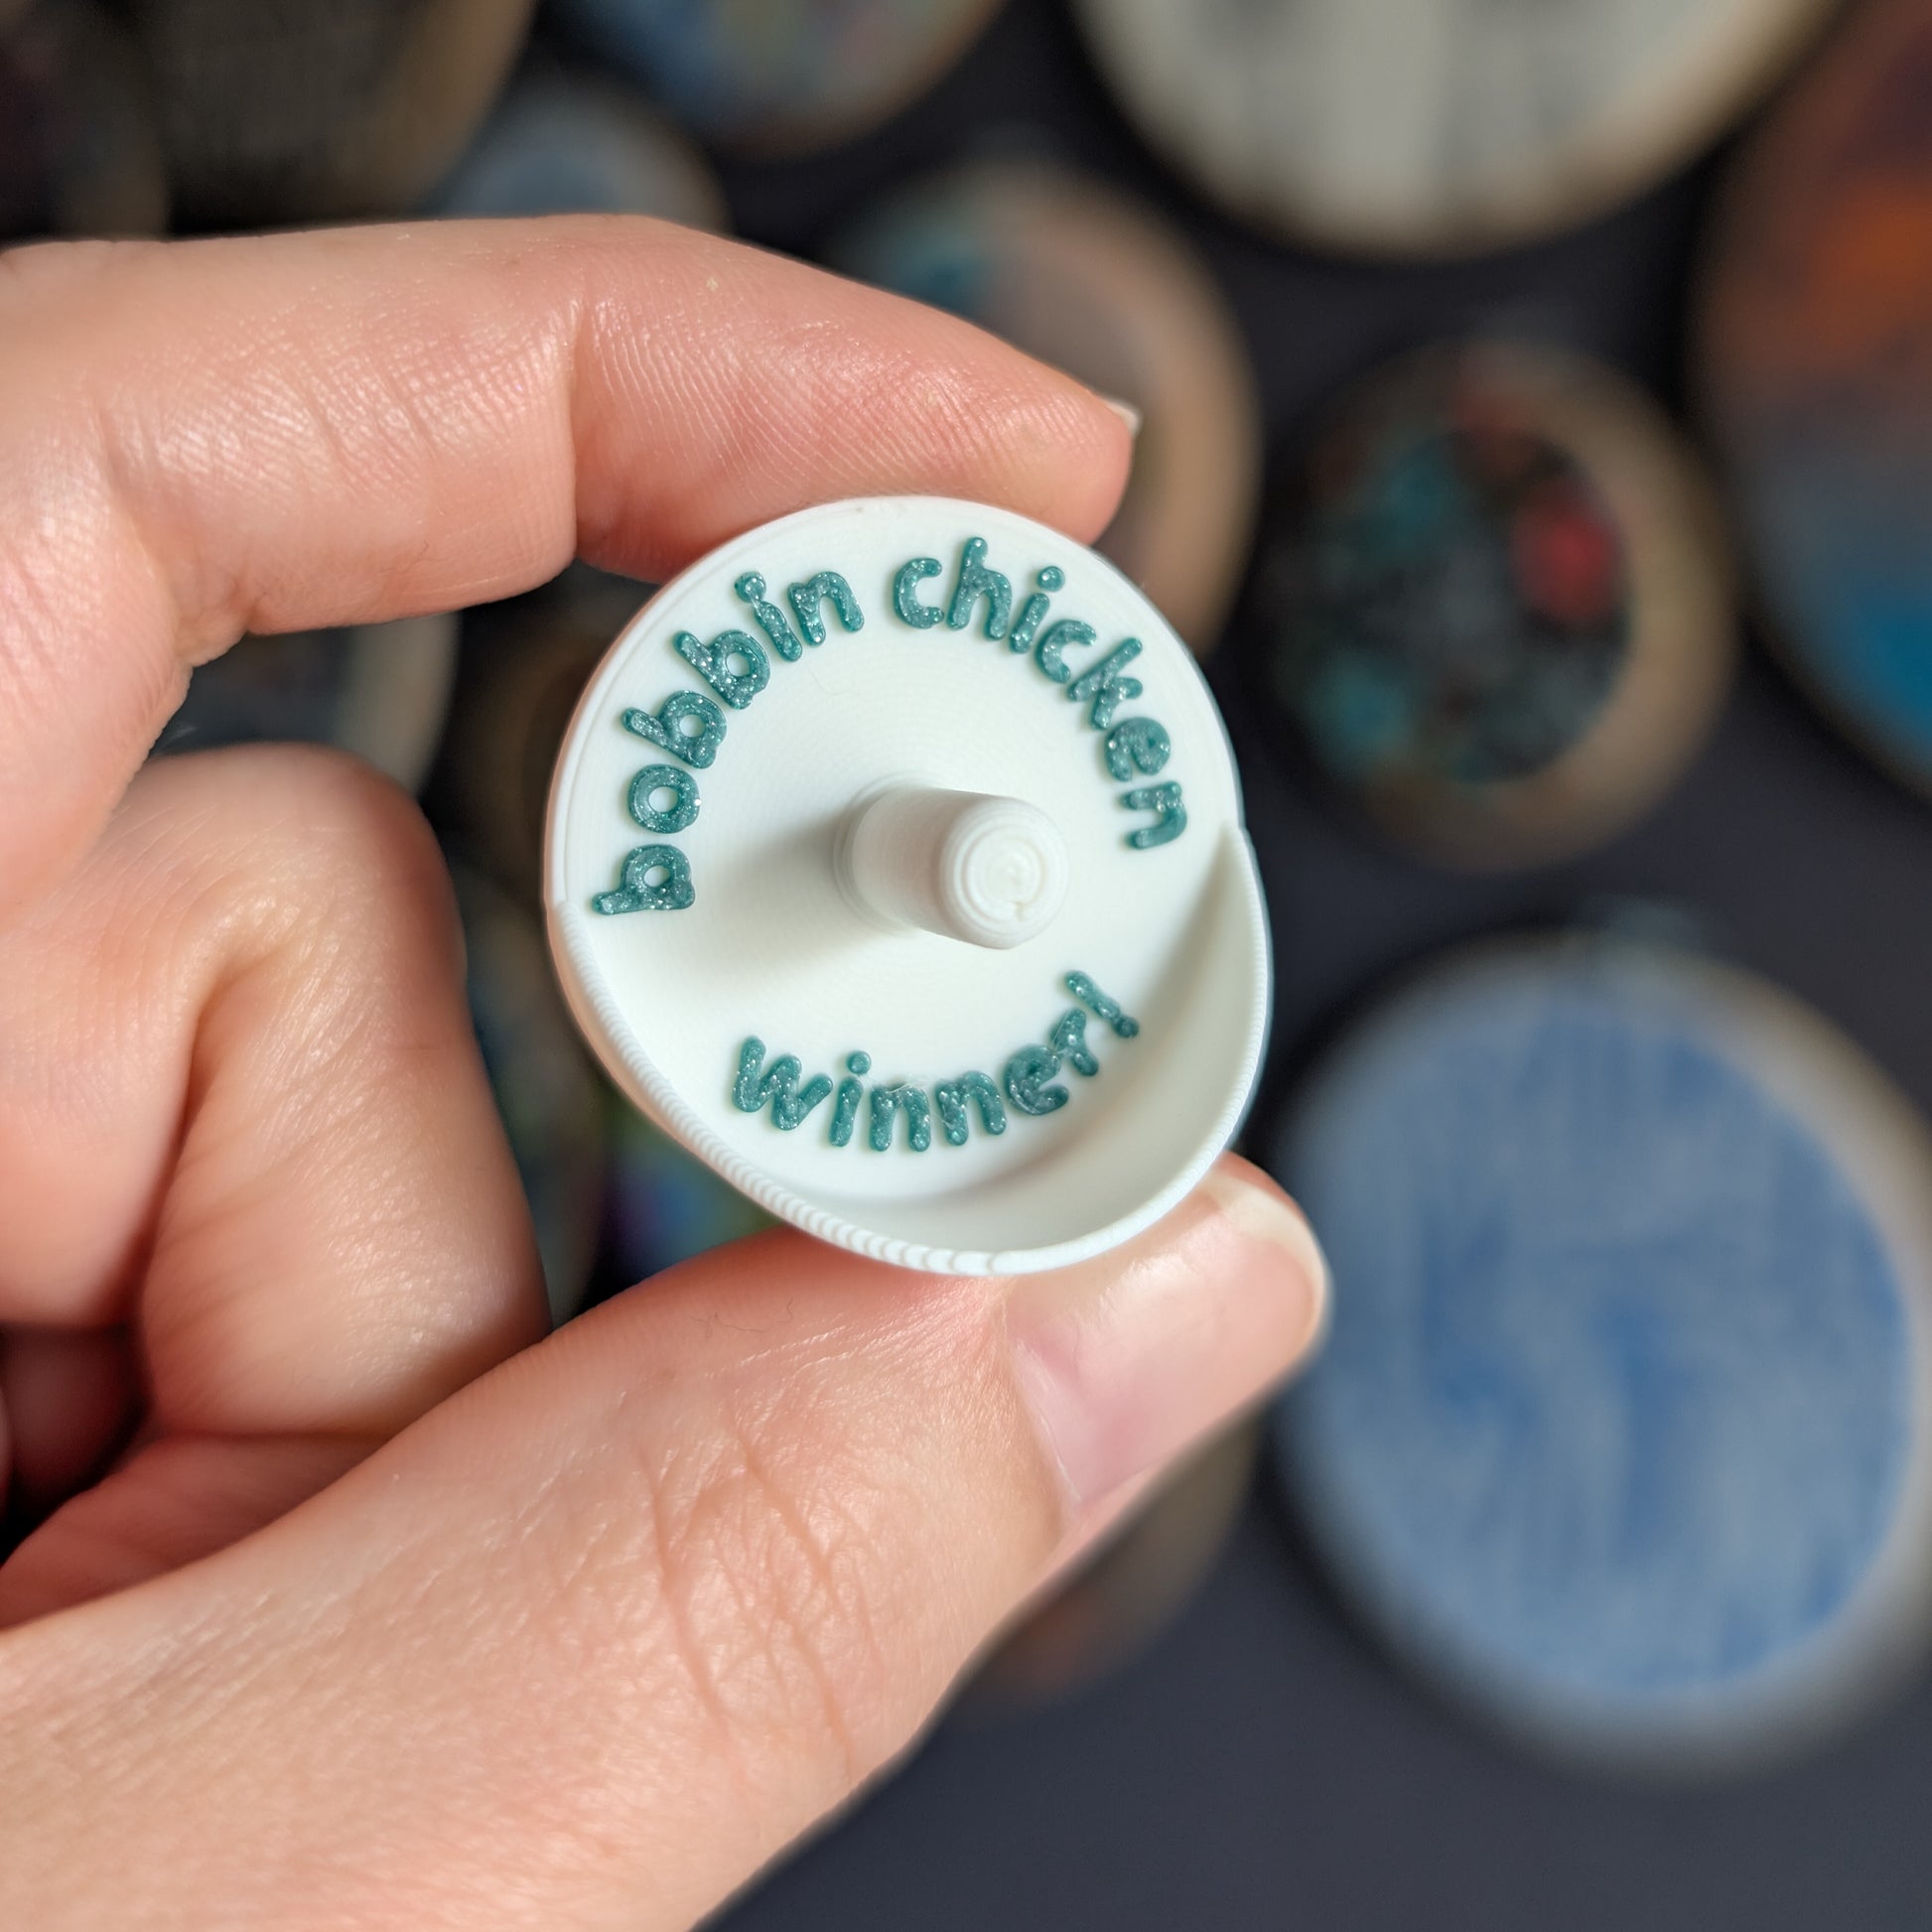
- (1) STL & 3MF of a bobbin holder with the text: "bobbin chicken winner!"
Share


Magnet Installation Guide
In order to make the bobbin holder magnetic, you need to insert the magnet mid-print. This is very simple and easy, but it is imperative to do this with the right magnet and at the right time.
The bobbin holders are designed using this specific magnet:
Can you use different magnets? Probably, but we can only speak to it working with these magnets.
Installation guide:
- Import the files into your slicer.
- Slice file.
- In your preview screen after slicing, scroll through the layers to find the last layer where the hole is open. This should be layer 21 if you are using a 0.4mm nozzle and printing with a layer height of 0.2mm (standard print profile).
- Insert a pause on that layer.
- Re-slice.
- Print.
- When your printer pauses, simply drop the magnets in the hole. They should snap right to the bed of the machine.
- Resume printing. Since the pause happens at the beginning of the layer, it should do one more layer of walls/infill, and the following layer will bridge the hole.
- Bob's your uncle.
We can only speak to this method using BambuLab printers and BambuStudio software. But it should work similarly with other slicing software.
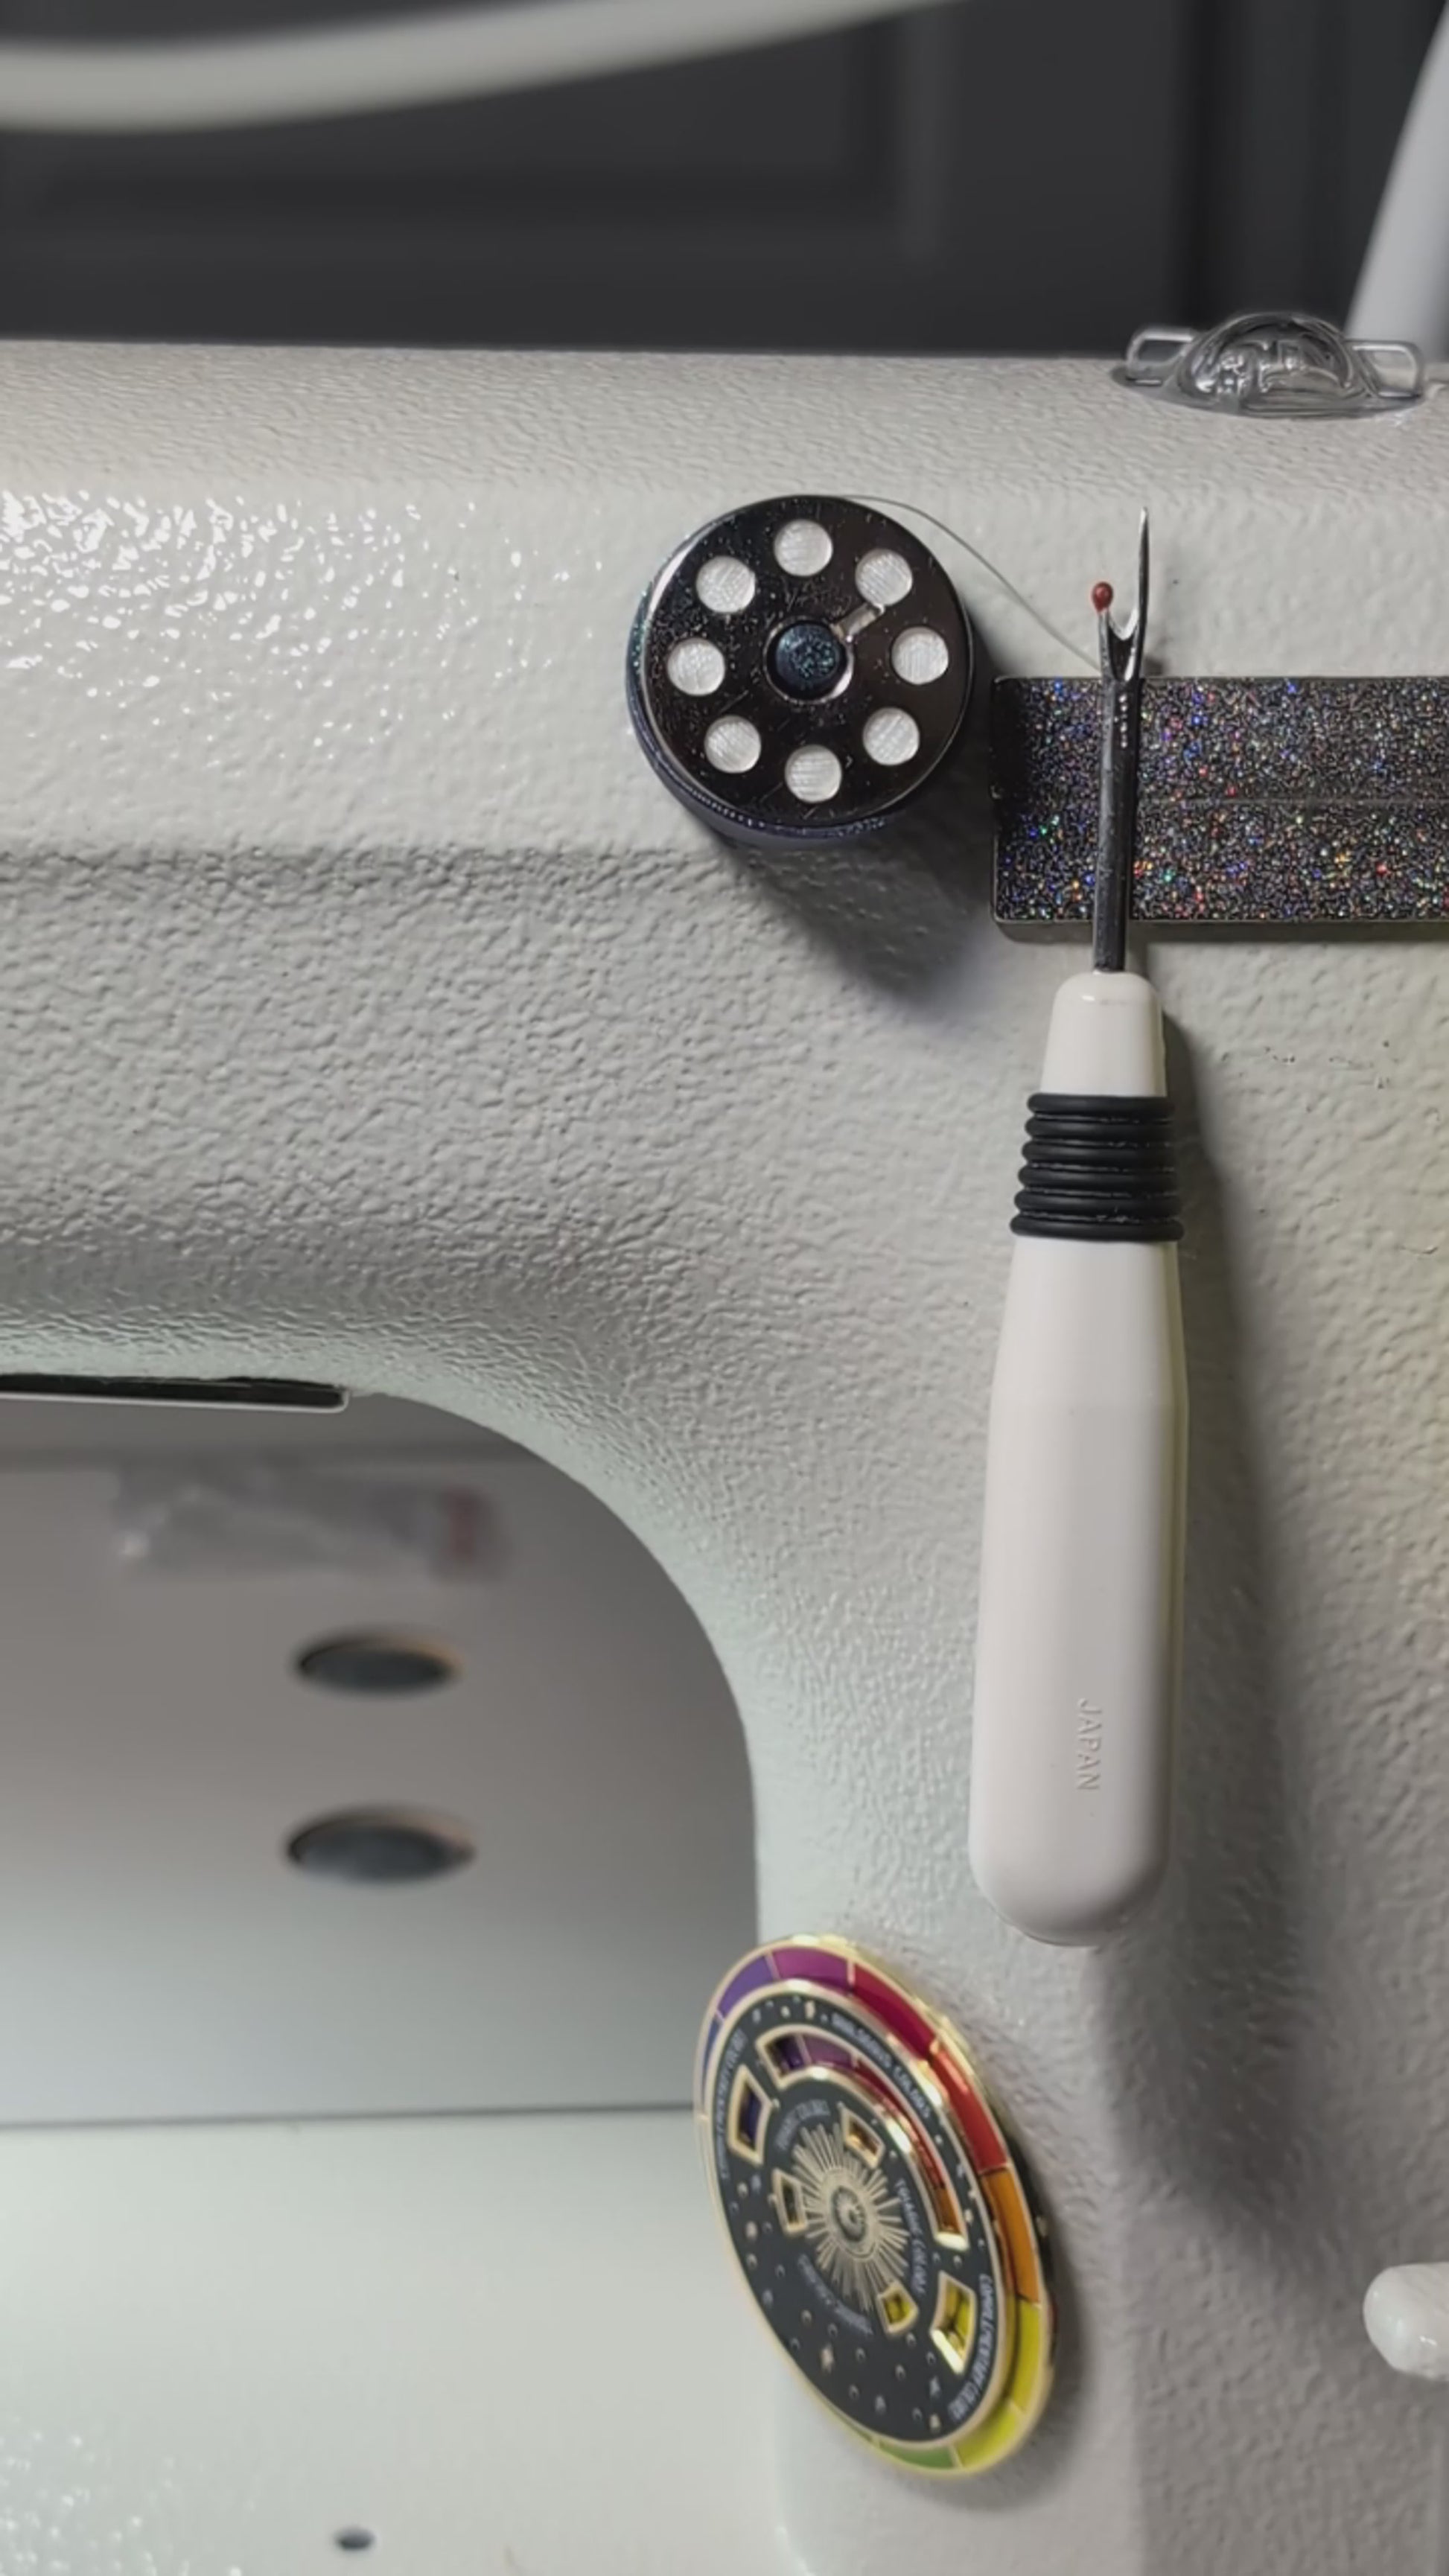
Mess up and need to remove the magnets? Personally, I use a thread burner (amazon associate link) to melt a hole into the bottom of the bobbin holder. Please be mindful as it is a small object you are holding next to a very hot rod. Also be gentle as you don't want to break the tip of the tool. Alternatively, you can use some pliers to cut it out, but I am speaking from experience when I say it's not as easy.
Adding Your Own Custom Text Tips
- Our process of adding text starts with an SVG that we have adjusted to fit the size of the bobbin holder on a per-phrase basis. The amount of characters determines sizing and spacing.
- Once the text is arranged how we like, it is added to the blank bobbin holder in Fusion360, but you may be able to make it work in a slicer software like BambuStudio. Arched text isn't an option yet in Bambu Studio, thus the reason why Alex does it in Fusion360.
- We like to make our text 0.6mm tall (3 layers). This will have the bobbin sit a bit more flush with the bottom wall than on the blank one as it was originally designed and shown in the listing photos. The blank version still works just fine, but it's offered to you so that if/when you add your own custom text, the text version we offer will match your custom one in text height and how the bobbin sits.
- Since we have a multicolor printer, I like to paint the letters in BambuStudio. I recommend using the "Fill" option with "Edge Detection" selected.
Print Profile Settings
My preferred settings are as follows:
- 0.2mm Layer Height
- 3 Wall Loops
- Concentric Bottom Pattern
- Archimedean Chords Top Surface Pattern
- 15% Gyroid Infill
We have really locked in our settings for proper adhesion (it has been amazing), so we haven't needed brims. If needed, enable brims.
If you experience any stringing after the text layers are finished, your filament temp is probably too high, so you should do some calibration and research to find what best fits your filament type. We tend to print between 205-215 and it has helped reduce stringing immensely.
-
Return Policy
All sales for digital products are final. No exceptions.
Chargebacks filed without contacting knottedthreadsco@gmail.com first will result in a ban from future purchases. This is a zero tolerance policy.